In this article I am documenting the exact steps that one needs to host a wordpress based site on a Debian based virtual machine (VM). I choose debian since that’s one of the preferred distro based on it’s stability and smaller footprint on resources compared to Ubuntu. But you may very well choose Ubuntu, only some steps in below documentation would differ.
This article deals with following technologies:
- Windows 10: The host operating system
- Oracle VirtualBox: The Virtual Machine software
- Debian 9.3 x64: The distro which we will install on the VM
- nginx: The web server
- mariadb: MySQL database solutions
- php: The package which installs on Debian automatically as a dependency
- phpMyAdmin: Administration tool for MariaDB
Preparation:
You need to downloaded the latest version of Debian x64 from here: https://cdimage.debian.org/debian-cd/
In my case I happen to download the iso image “debian-9.3.0-amd64-DVD-1.iso” from https://cdimage.debian.org/debian-cd/9.3.0/amd64/iso-dvd/.
Note that I didn’t need the other two ISO image since you can always choose to install additional packages via Internet (if you have good fast broadband).
Then I downloaded and installed the latest version of VirtualBox from here: https://www.virtualbox.org/wiki/Downloads
Next thing is to install Debian OS on the virtualbox. This was done by creating a new virtual machine. I made sure to give it 2 GB or memory and 20 GB of space and 2 cores of processor and 64 MB of video memory for speedy and responsive virtual machine performance. You can provide resources depending on how much you want to allocate.
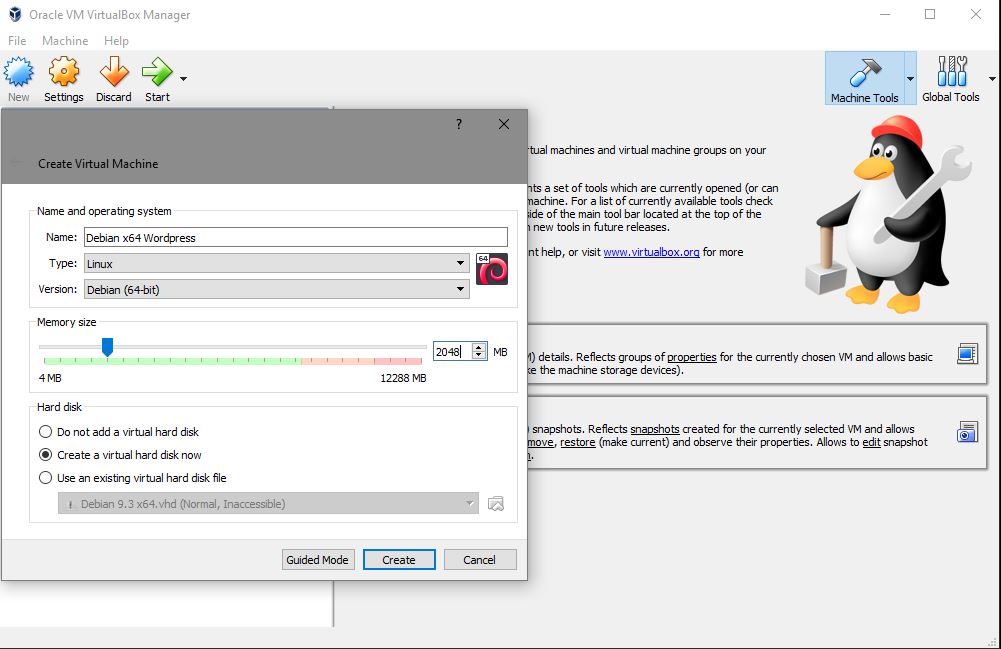
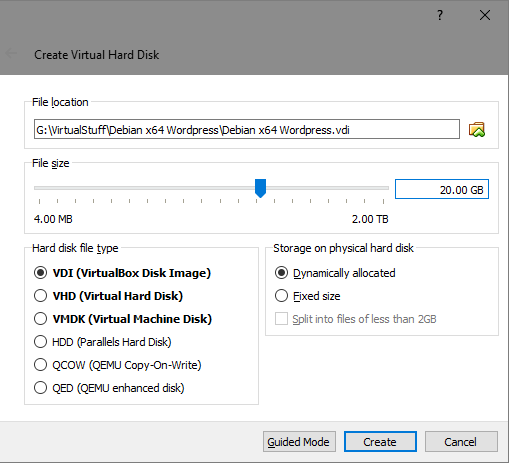
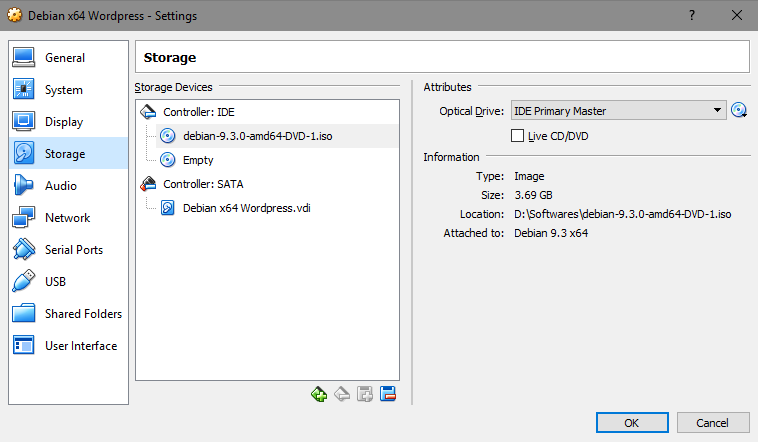
I also added an additional IDE drive since it makes it easier to have reference to two different ISO images. On one of the IDE I gave it the reference of the Debian ISO image we downloaded earlier since we would need it to install debian on the virtual machine.
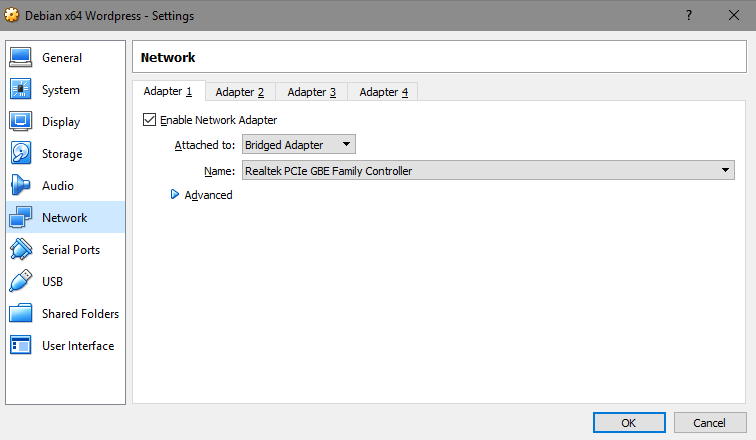
Lastly it’s important to set the network adapter as “Bridged Adapter”. It’s required to have the virtual machine access to Internet while also retaining an IP address that we can use to browse the wordpress site that will be hosted on the debian VM.
Installing Debian 9.3 on VirtualBox:
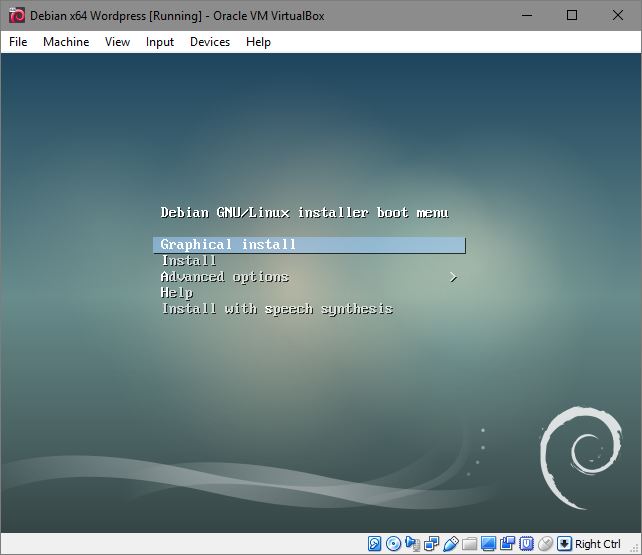
Now I started the virtual machine and since we had already setup the debian ISO image as primary bootable disk, I was greeted by the installation screen. Here I installed the debian like I would on a normal machine.
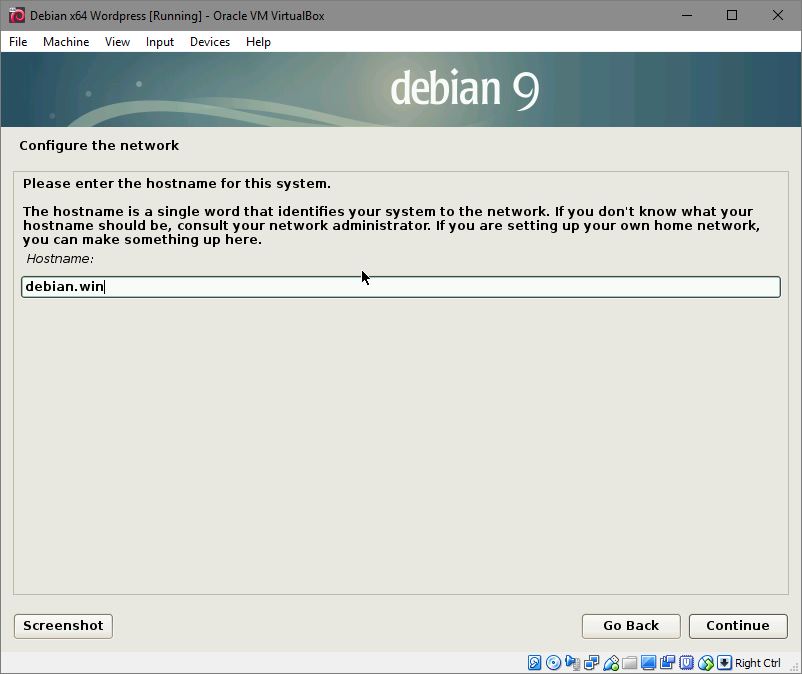
During the installation it would ask for a hostname. Enter something sensible. I entered debian.win. Later we will do something that would let us visit the sites hosted on this VM, using browser from host machine, through this hostname, “debian.win”.
After some time the installation also ask to insert 2nd ISO. If you haven’t downloaded the other two ISO images you may skip this step.
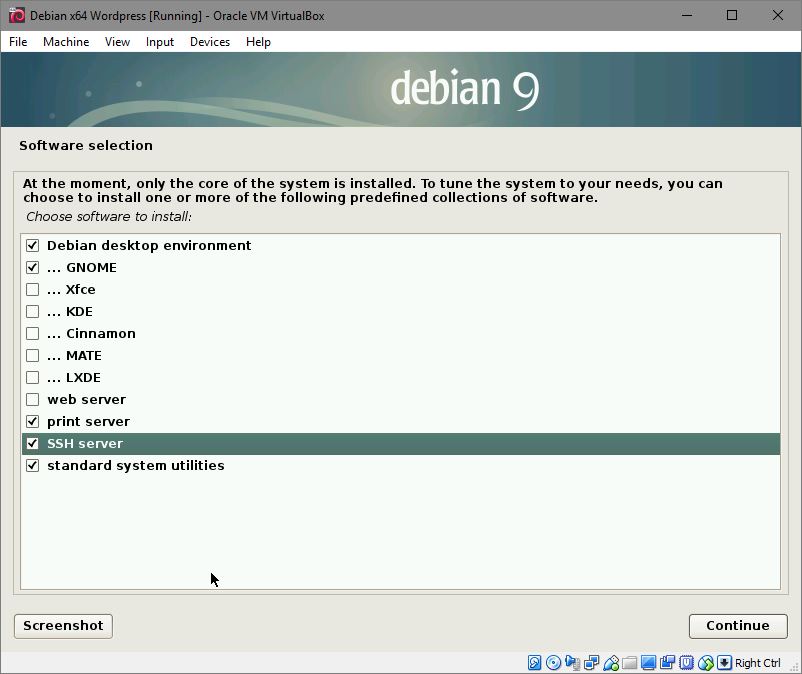
Once the installation reaches a certain step you should also select a desktop environment. I selected GNOME, since that’s the desktop environment I like.
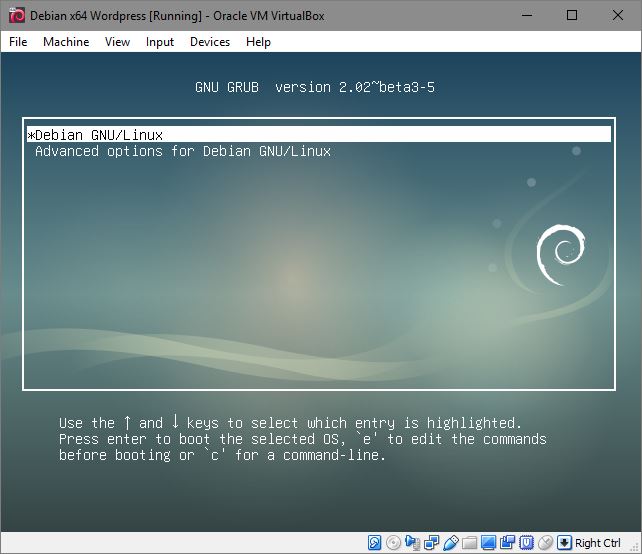
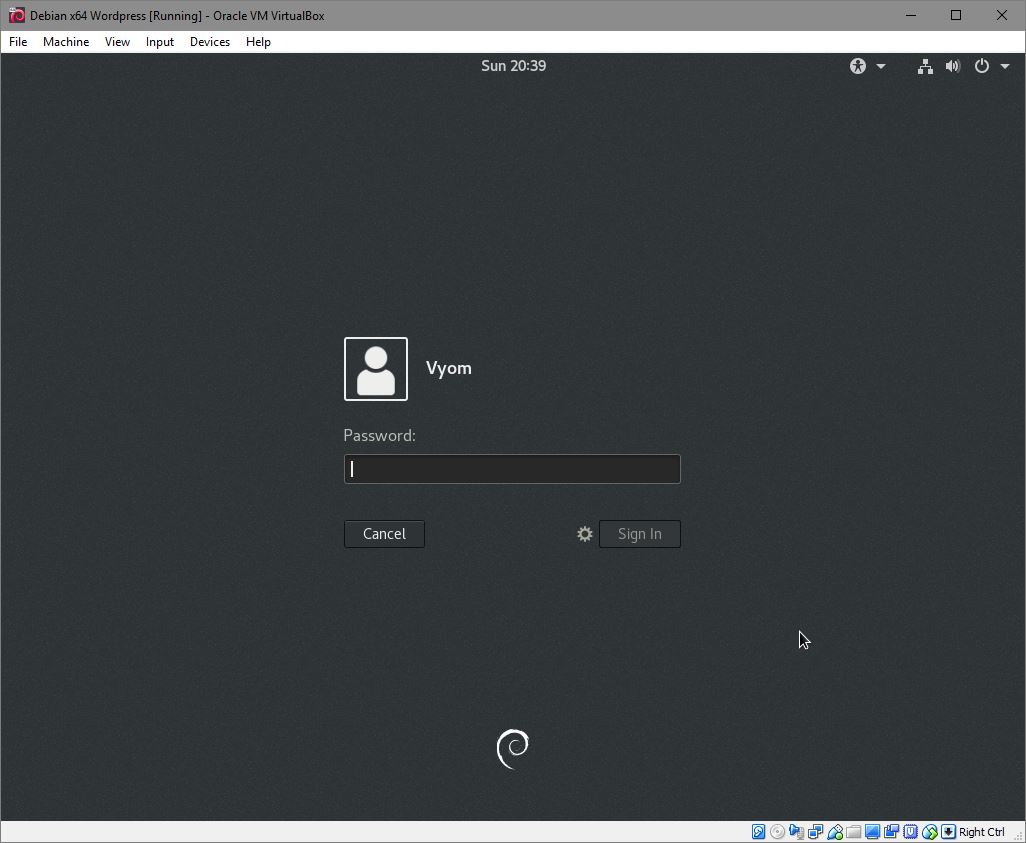
After debian installation completes, the VM will ask for a reboot. Do it, and you should be greeted with following grub bootloader screen:
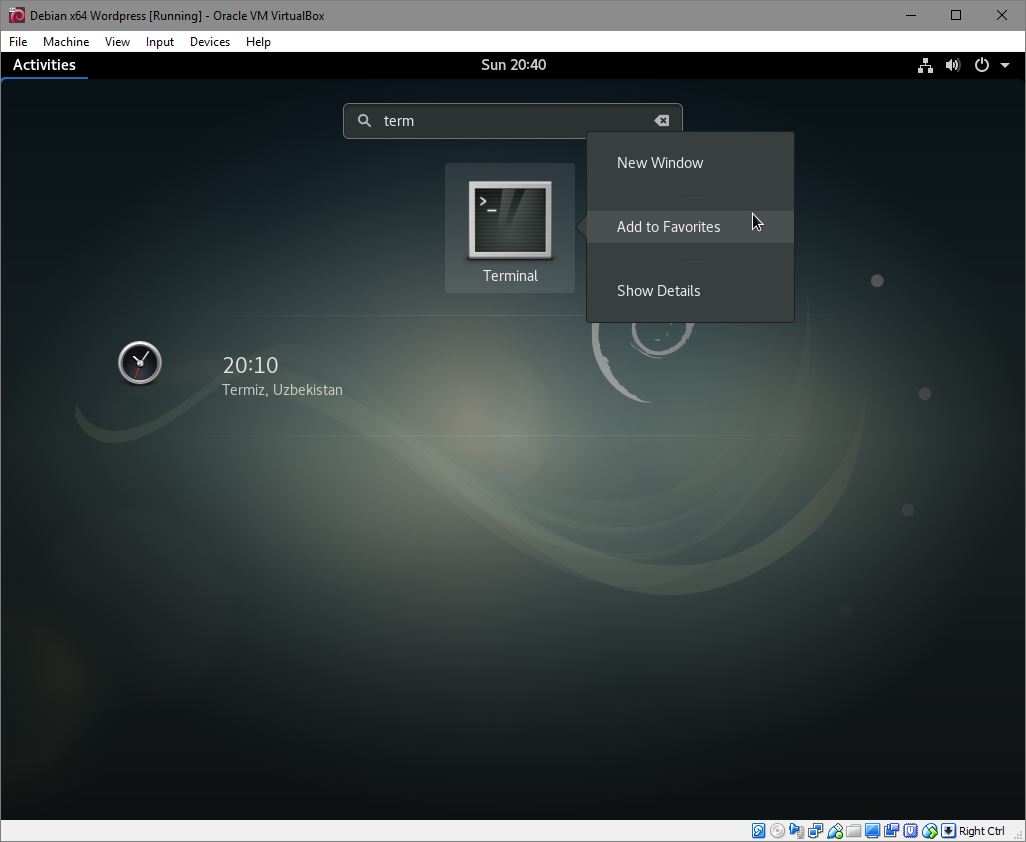
Once the debian desktop is loaded, you might want to add “Terminal” to favorites since we would need to launch it a lot of times.
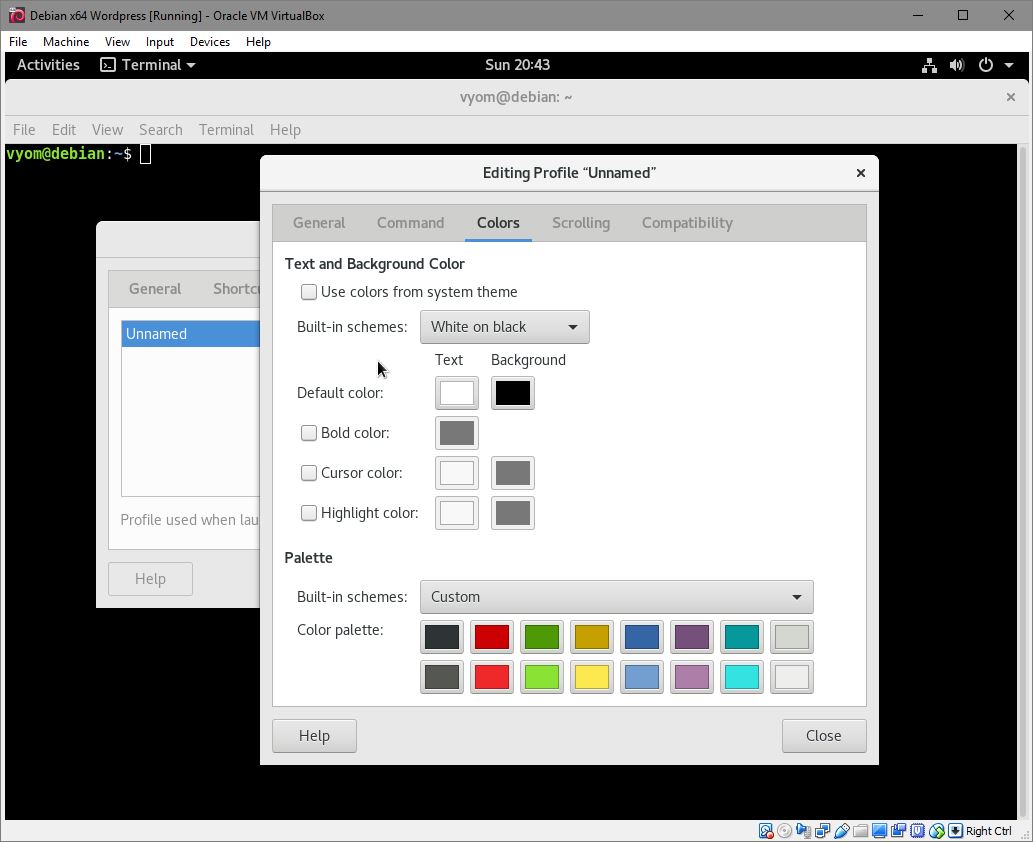
At this point when you launch Terminal, you will be greeted by a black text on white background terminal window. I like to change it to white on black from preferences. I like it that way.
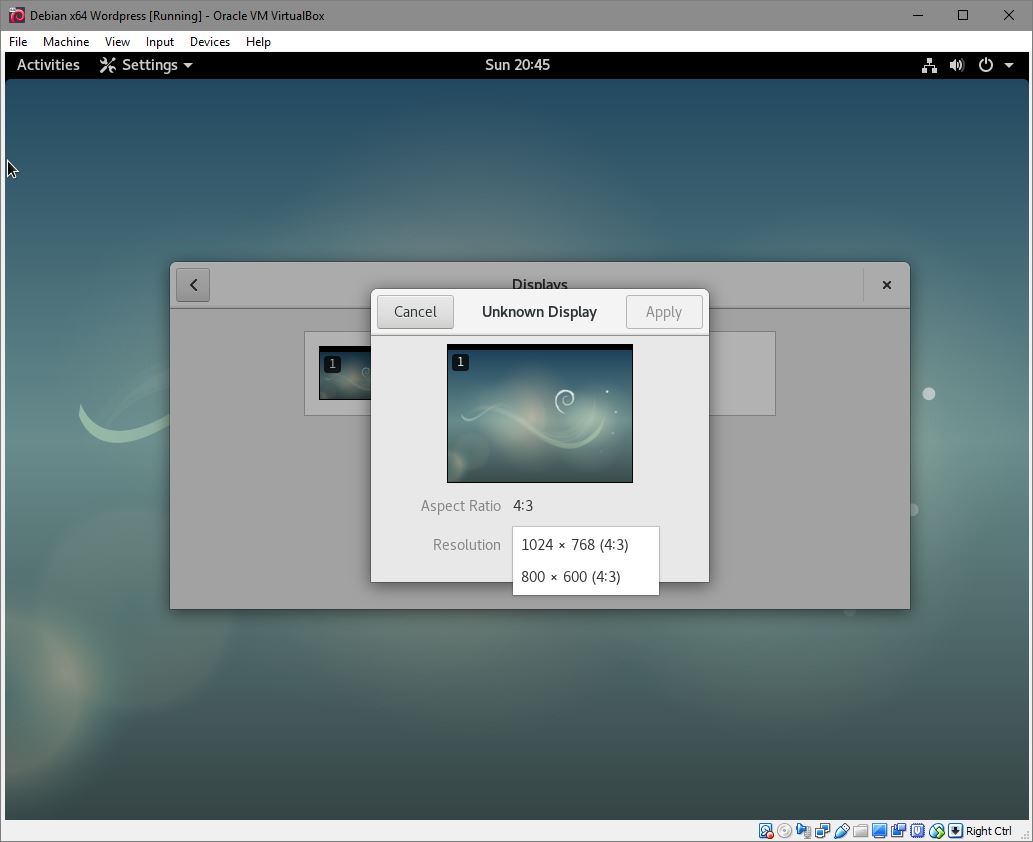
Now, if you notice even if you notice the resolution of the desktop will be limited to 1024 x 768 and you can’t use copy paste text from machine or to your host OS. We would need to do perform certain steps in order for the VM to function optimally.
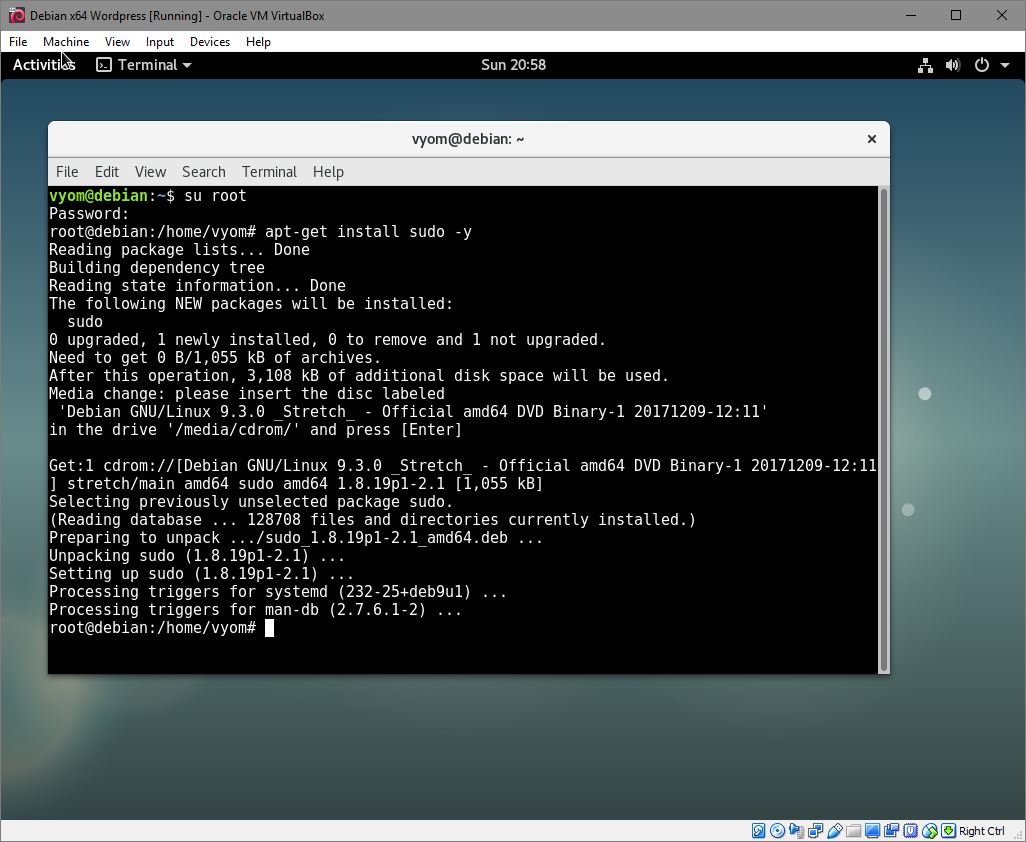
A. Install Sudo: By default sudo is not installed. So it’s important to install sudo before we do anything. To do this run following commands on terminal:
su root
apt-get install sudo -y
If you get the message “please insert the disc labelled, Debian…” make sure you have the debian ISO loaded on IDE (Devices -> Optical drive -> Debian ISO).

B. Add yourself in sudoer list: If you don’t do that you will encounter following error message if you try to run a command in sudo mode:
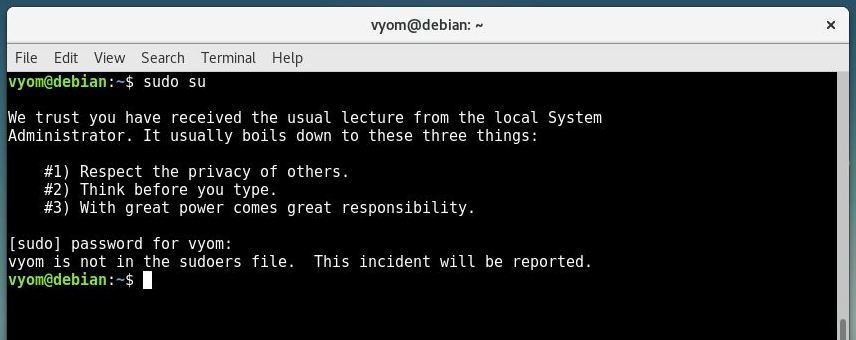
To add yourself in sudoer list run following command:
su root
sudo adduser username sudo
exit
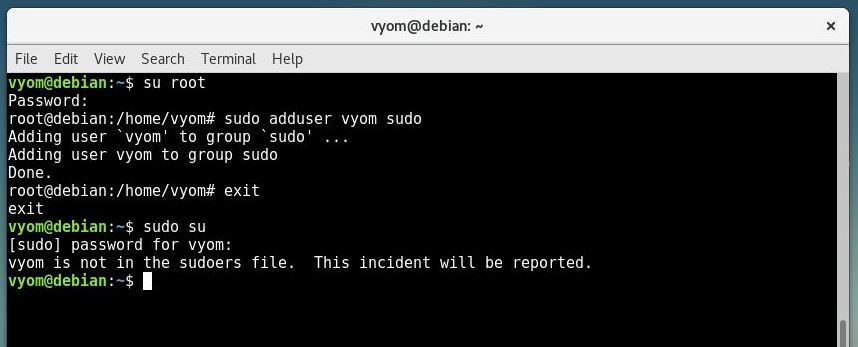
Now you need to reboot the VM, else the command won’t take into effect. (Sidenote: I don’t know how many times have I missed rebooting at this point, and wondering why sudo isn’t working even after I granted it SUDO rights.)
C. Install build essentials: Now that you have SUDO, just run following commands to install build essentials.
sudo apt-get update
sudo apt-get install build-essential
Above command required 137 MB of space to install and finished in about 15 seconds.
D. Install Linux Kernal headers: Run following commands to install linux kernel headers. I don’t know why it’s requird but just bear with me:
sudo apt-get install linux-headers-$(uname -r)
sudo apt-get update && sudo apt-get upgrade
sudo apt-get install linux-headers-amd64
Above set of commands requires about 100 MB in total of space and finished in a minute.
E. Install Virtual guest add-on: Finally we need to install the VM’s guest addon, which you guessed it right we didn’t need to do if this wasn’t a VM. But since it is, just run following command after clicking Devices -> ‘Install Guest Additions CD image’ option.
sudo sh /media/cdrom/VBoxLinuxAdditions.run
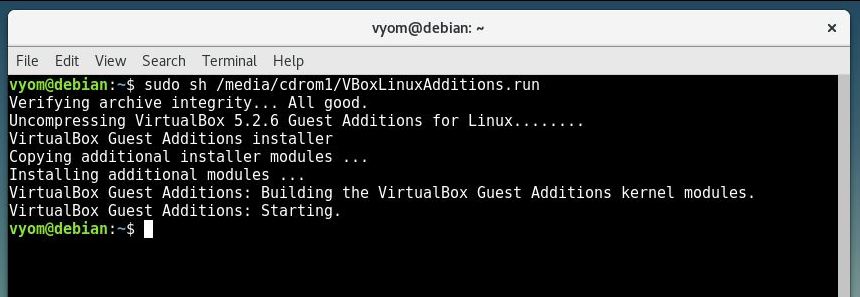
If you are using two IDE drives, then you may need to change cdrom to cdrom1, since if debian’s ISO is attached with first IDE, then the guest additions image would be mounted on second IDE.
Once Guest additions are installed, reboot the VM. Once you do that you will notice that more solutions are supported. In fact the resolution will change (resize) depending on how large of the VM window you open.
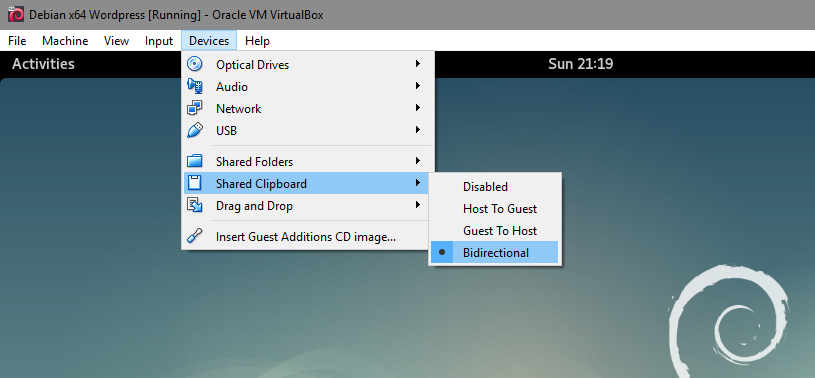
Now just select Devices -> Shared clipboard -> Bidirectional, so that you can easily copy paste commands from clipboard.
At this point, the VM is ready for us to install next step of LAMP setup, which is installing applications on the debian OS to enable us to host a wordpress website.
Run the following commands on the console to install nginx, mariadb and phpmyadmin etc:
sudo apt-get install nginx
sudo apt-get install mariadb-server
sudo apt-get update && sudo apt-get dist-upgrade
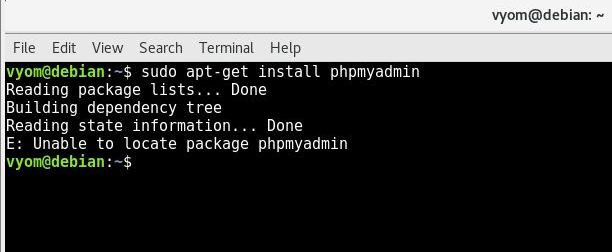
sudo apt-get install phpmyadmin
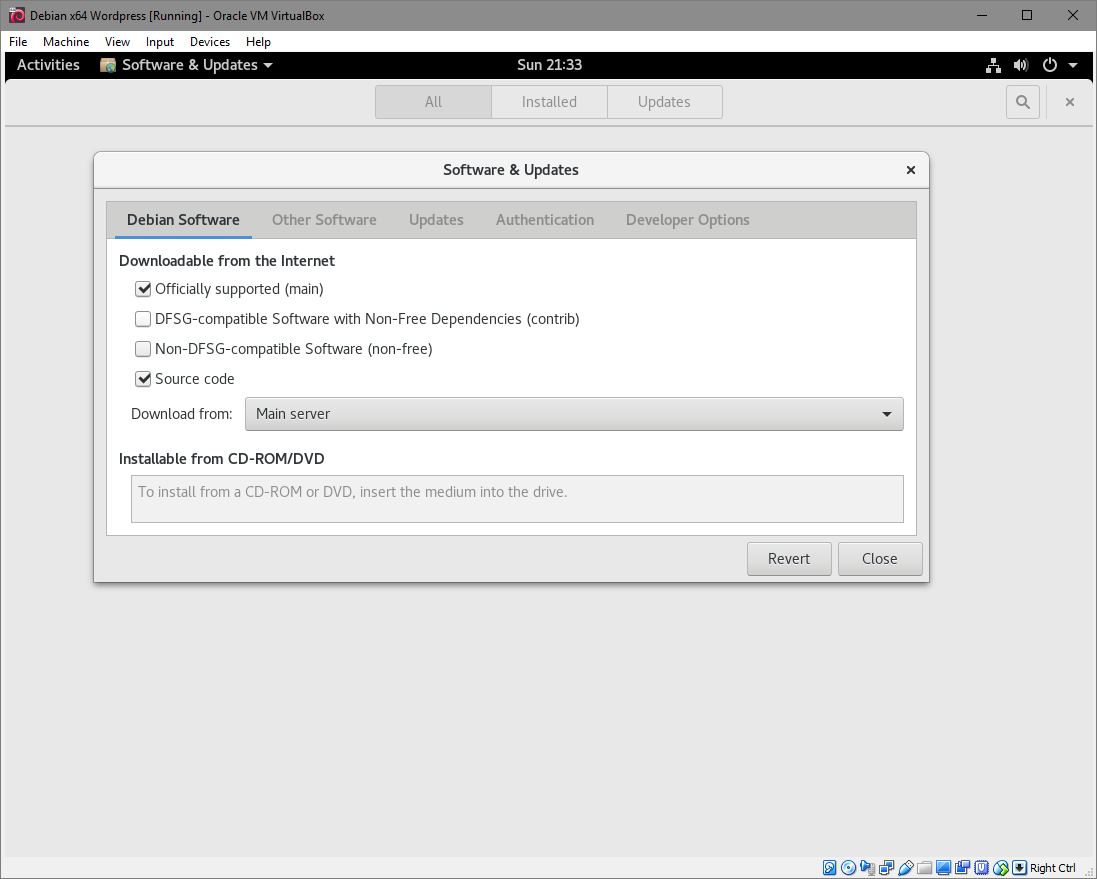
If you get error finding the phpmyadmin package, make sure to choose “Main” under software sources and again trying both commands:
Press escape when it asks for configure at below screen:
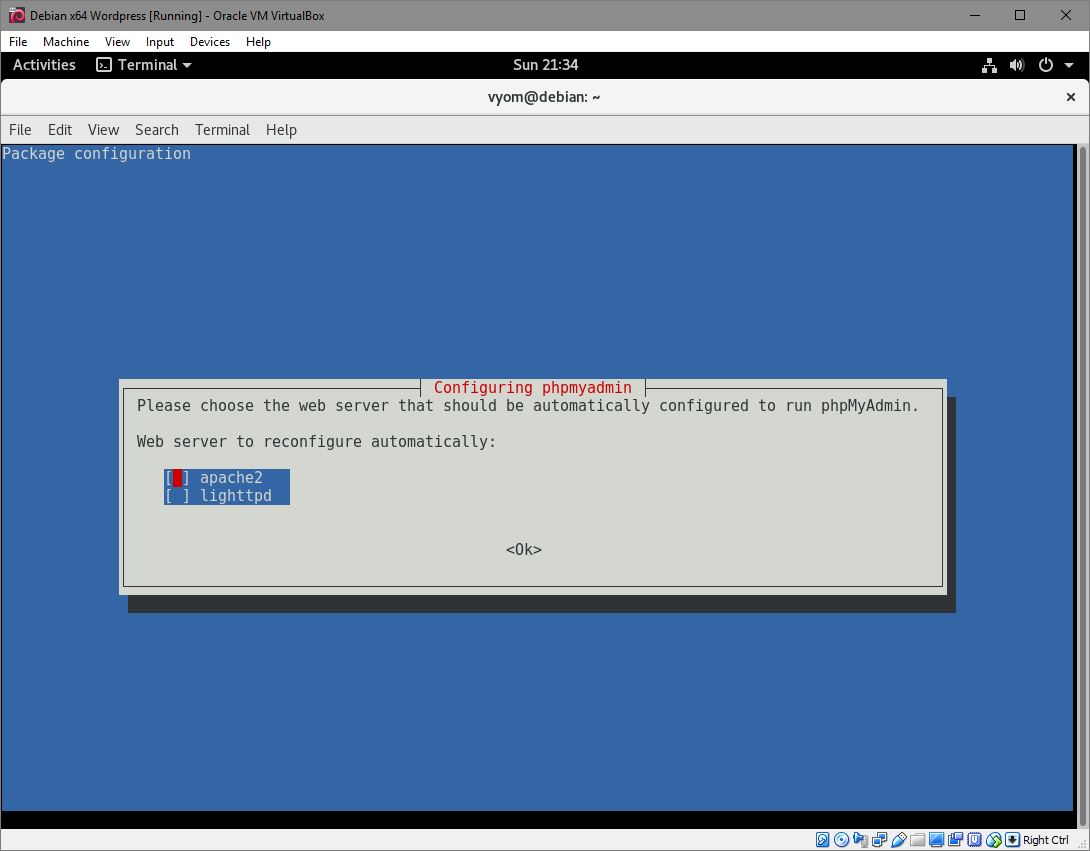
On below screen, press Yes, and it’s when it will ask for a password to be setup. Enter the password which you want to keep for SQL:
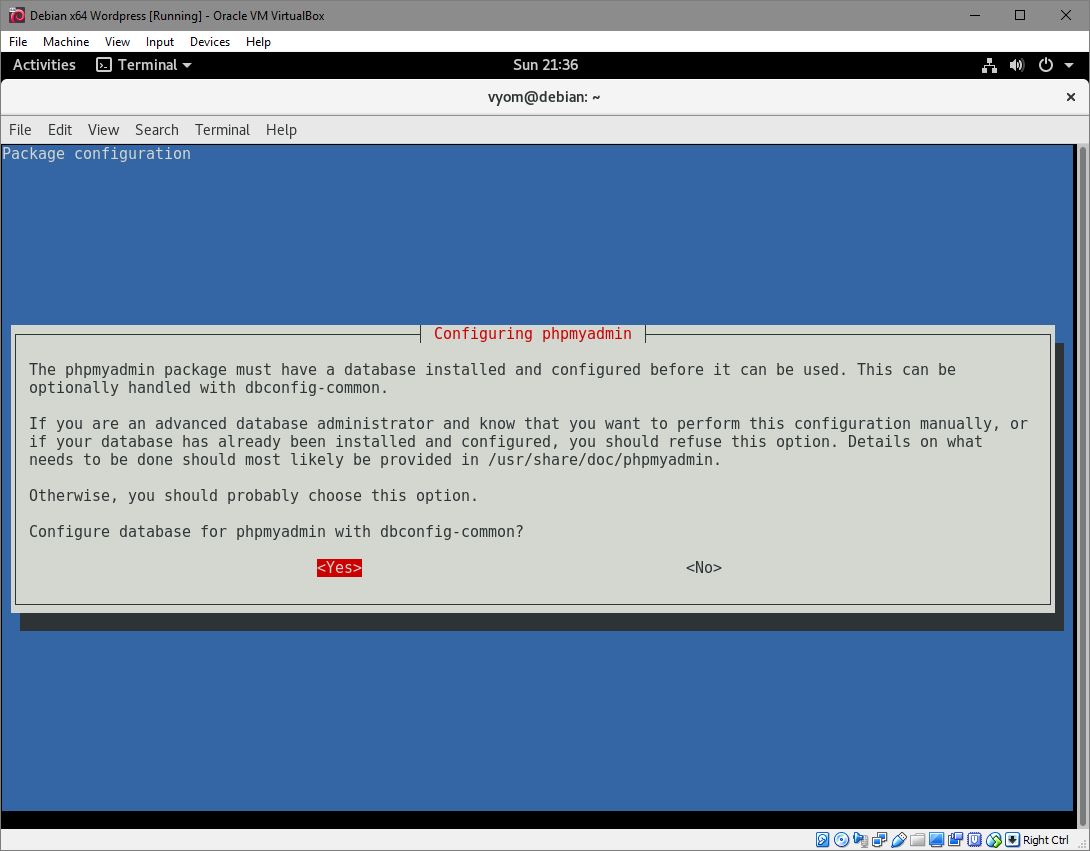
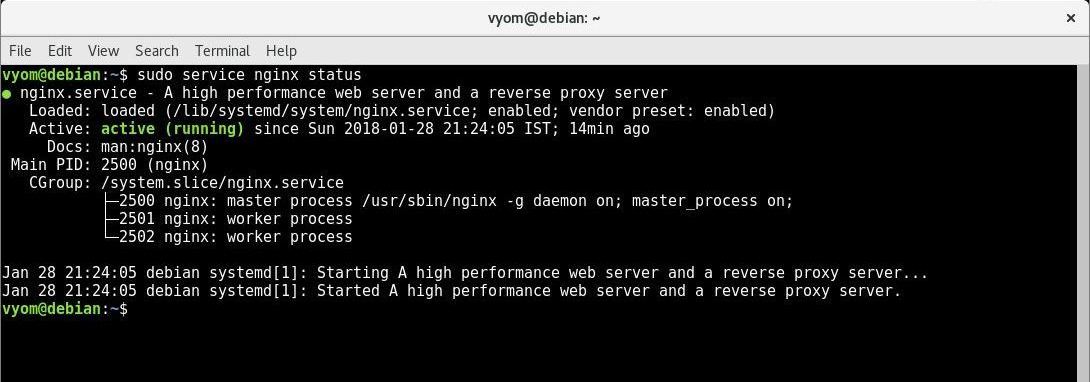
Now we are done installing nginx, mariadb and phpmyadmin. To confirm if nginx server is running, use following command:
sudo service nginx status
To know the IP address of your VM, enter following command:
hostname -I

On my VM, it’s IP address was: 192.168.0.103.
On your host windows machine, open the file “C:\Windows\System32\drivers\etc\hosts”:
Add following lines in the end and save it. It will resolve the debian.win address to the IP address of your VM:
192.168.0.103 debian.win
192.168.0.103 srv.debian.win

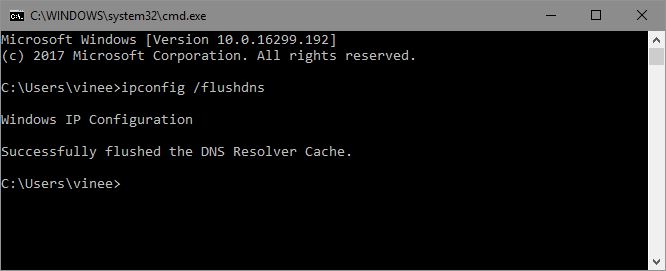
Now flush DNS by running following command on windows command prompt:
ipconfig /flushdns
Now open a browser and enter following address to open it:
debian.win
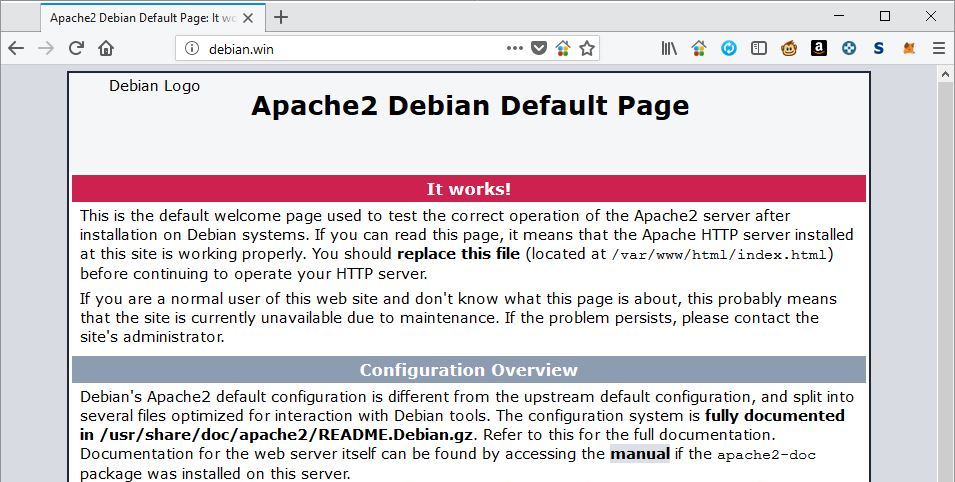
For some reason we need to purge Apache before we see nginx page. So to purge apache run following command in debian’s terminal:
sudo apt-get purge *apache*
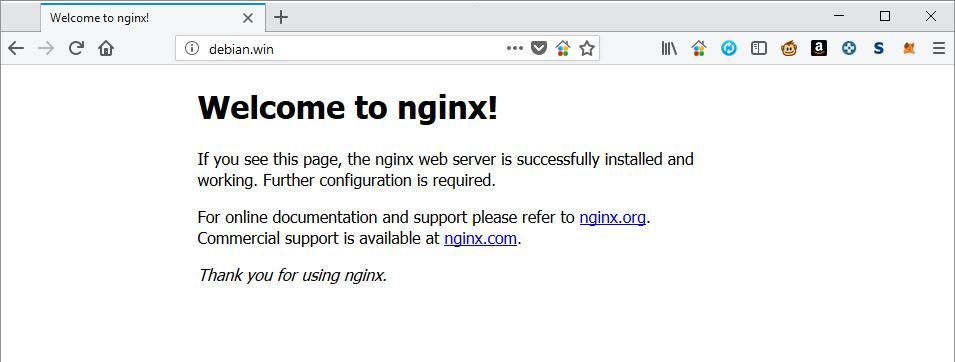
Once the above command finishes purging apache, now refresh debian.win on browser. You should see following screen:
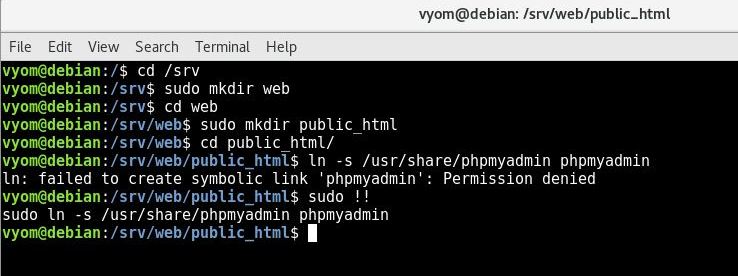
Now we will setup a URL to access the phpmyadmin page. To do this, run following commands to create a symlink to /usr/share/phpmyadmin to a file in /srv/web/public_html:
cd /srv
sudo mkdir web
cd web
sudo mkdir public_html
cd public_html/
sudo ln -s /usr/share/phpmyadmin phpmyadmin
Now we will create an nginx configuration such that srv.debian.win points to phpmyadmin page (but only on port 2626. You may change this port for security measure):
cd /etc/nginx/sites-available/
sudo nano srv.debian.win.conf
Paste following lines in the text editor which opens on terminal:
server {
        listen 2626 ;
        root /srv/web/public_html ;
        # Add index.php to the list if you are using PHP
        index index.php index.html ;
        server_name srv.debian.win ;
        location / {
                try_files $uri $uri/ =404;
                autoindex on;
        }
        location ~ \.php$ {
                include snippets/fastcgi-php.conf;
                fastcgi_pass unix:/var/run/php/php7.0-fpm.sock;
        }
}
Once the file is sucessfully saved, create a symlink with below command:
sudo ln -s /etc/nginx/sites-available/srv.debian.win.conf /etc/nginx/sites-enabled/srv.debian.win.conf
Lastly, reload nginx:
sudo service nginx reload
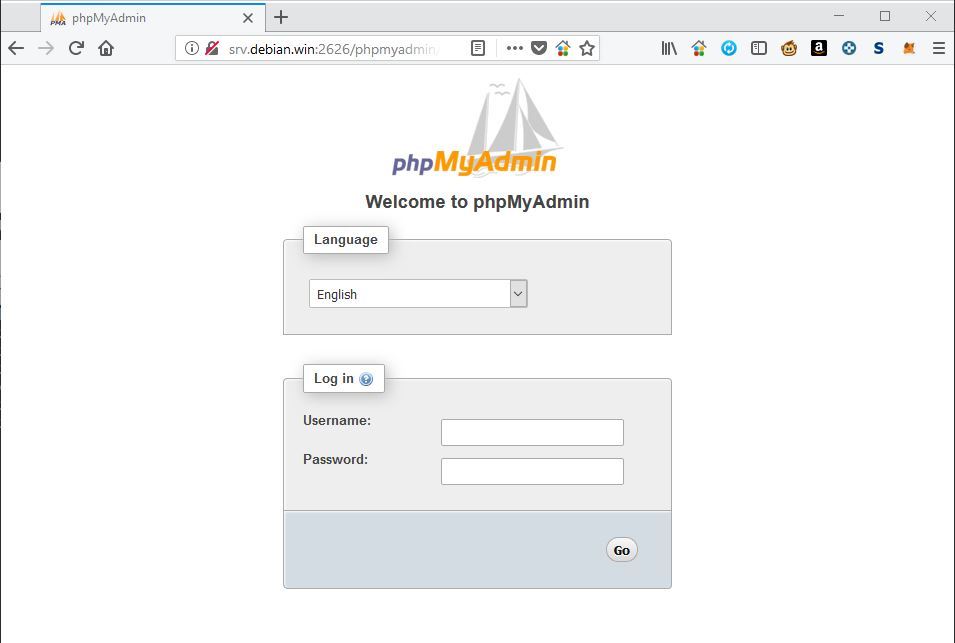
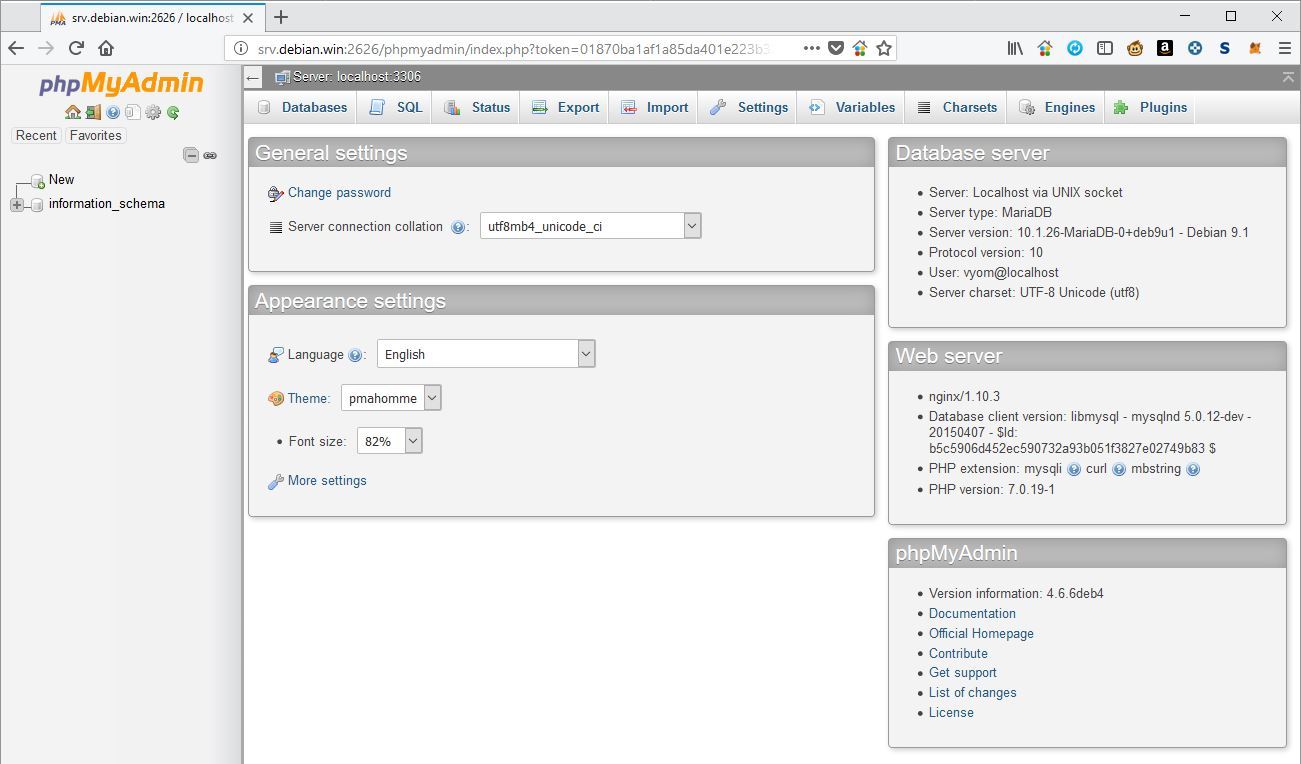
Now try to open the URL, “srv.debian.win:2626/phpmyadmin/index.php” from the browser. If you have followed every step correctly, you should be greeted with this beautiful screen of phpmyadmin console:
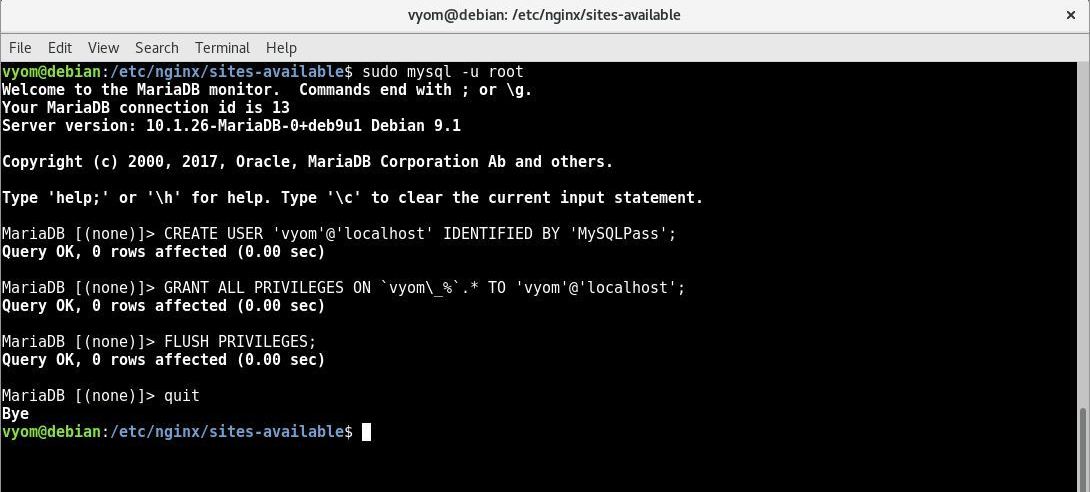
You may be tempted to login to this admin using the root password we entered while installing phpmyadmin, but hold your horses, cause due to some security measure, it won’t allow you to do that. So now we need to create a new mySQL user and use it to access the phpmyadmin.
sudo mysql -u root
CREATE USER 'vyom'@'localhost' IDENTIFIED BY 'MySQLPass';
GRANT ALL PRIVILEGES ON `vyom\_%`.* TO 'vyom'@'localhost';
FLUSH PRIVILEGES;
quit
Now on this phpMyAdmin console you can create a database for wordpress, and proceed to install wordpress.
Installing WordPress:
To install wordpress, you just need to follow the guide I wrote earlier, and access it via browser like you would normally do. For completion sake, I would document rest of the steps too:
Run following command on terminal to download wordpress and install it in respective directory:
cd /home/vyom
mkdir www
cd www
mkdir debian.win
cd debian.win
wget http://wordpress.org/latest.tar.gz
tar -xzvf latest.tar.gz
mv wordpress/ public_html/
Don’t forget to chown the www directory so that all the fils are owned by www-data. This step is important so that wordpress don’t face permission issue later:
sudo chown -R www-data /home/vyom/www
Now create an nginx config so that debian.win points to this wordpress installation:
cd /etc/nginx/sites-available/
sudo nano debian.win.conf
Enter following configuration into the text editor which opens in terminal:
server {
	listen 80;
	root /home/vyom/www/debian.win/public_html;
	index index.php index.html index.htm;
	server_name debian.win;
	location / {
		try_files $uri $uri/ /index.html /index.php;
	}
	# enforce NO www
	if ($host ~* ^www\.(.*)) {
		set $host_without_www $1;
		rewrite ^/(.*)$ $scheme://$host_without_www/$1 permanent;
	}
	# unless the request is for a valid file, send to bootstrap
	if (!-e $request_filename) {
		rewrite ^(.+)$ /index.php?q=$1 last;
	}
	error_page 404 /404.html;
	# redirect server error pages to the static page /50x.html
	#
	error_page 500 502 503 504 /50x.html;
	location = /50x.html {
		root /usr/share/nginx/html;
	}
	# pass the PHP scripts to FastCGI server listening on 127.0.0.1:9000
	#
	location ~ \.php$ {
		include snippets/fastcgi-php.conf;
		#fastcgi_split_path_info ^(.+\.php)(/.+)$;
		# NOTE: You should have "cgi.fix_pathinfo = 0;" in php.ini
		# With php5-cgi alone: fastcgi_pass 127.0.0.1:9000; With php5-fpm:
		fastcgi_pass unix:/var/run/php/php7.0-fpm.sock;
		#fastcgi_index index.php; include fastcgi_params;
	}
	# deny access to .htaccess files, if Apache's document root concurs with nginx's one
	#
	location ~ /\.ht {
		deny all;
	}
	location = /favicon.ico {
	log_not_found off;
	access_log off;
	}
	location = /robots.txt {
		allow all;
		log_not_found off;
		access_log off;
	}
	# Deny all attempts to access hidden files such as .htaccess, .htpasswd, .DS_Store (Mac). Keep
	# logging the requests to parse later (or to pass to firewall utilities such as fail2ban)
	location ~ /\. {
		deny all;
	}
	# Deny access to any files with a .php extension in the uploads directory Works in sub-directory
	# installs and also in multisite network Keep logging the requests to parse later (or to pass to
	# firewall utilities such as fail2ban)
	location ~* /(?:uploads|files)/.*\.php$ {
		deny all;
	}
}
Run following command to symlink the nginx config:
sudo ln -s /etc/nginx/sites-available/debian.win.conf /etc/nginx/sites-enabled/debian.win.conf
Reload nginx:
sudo service nginx reload
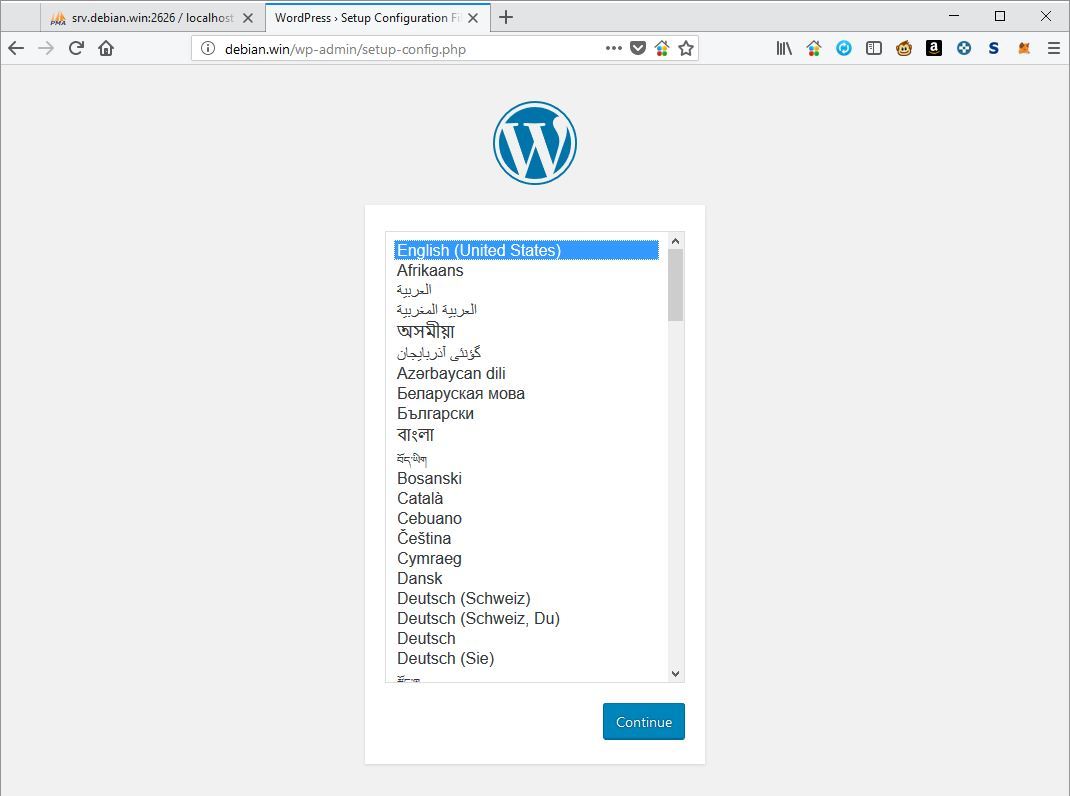
Now open debian.win on the browser, and if everything is ok, you will be greeted with wordpress setup screen:
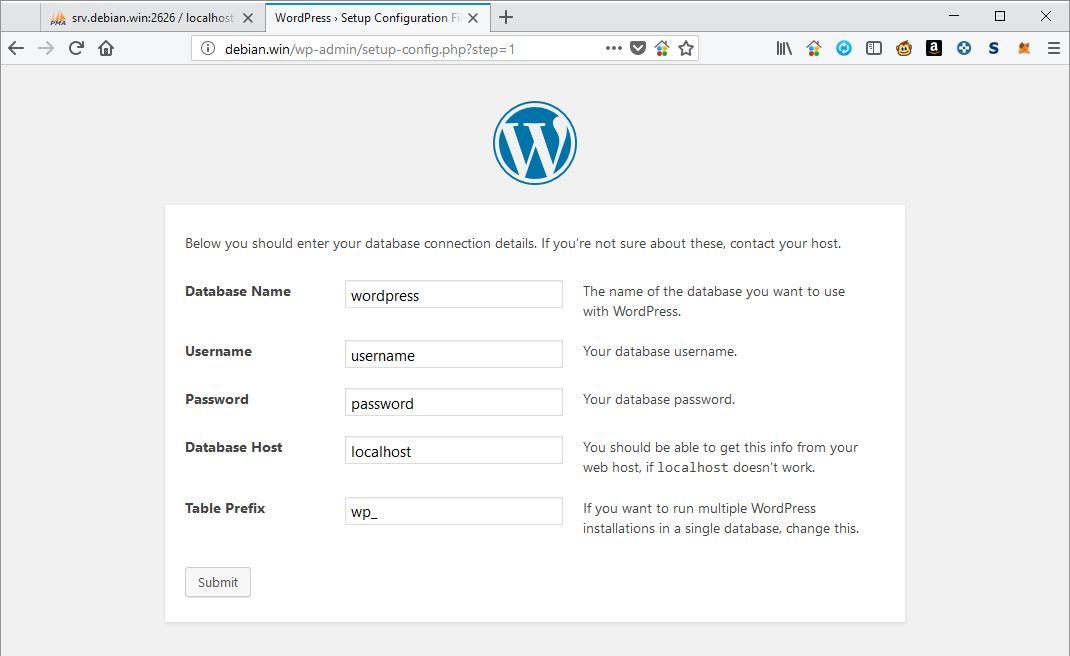
Enter database name which you created earlier and credential of the sql user which you created, and hit, “Submit”. If you have done everything alright, you will be greeted with this welcome screen:

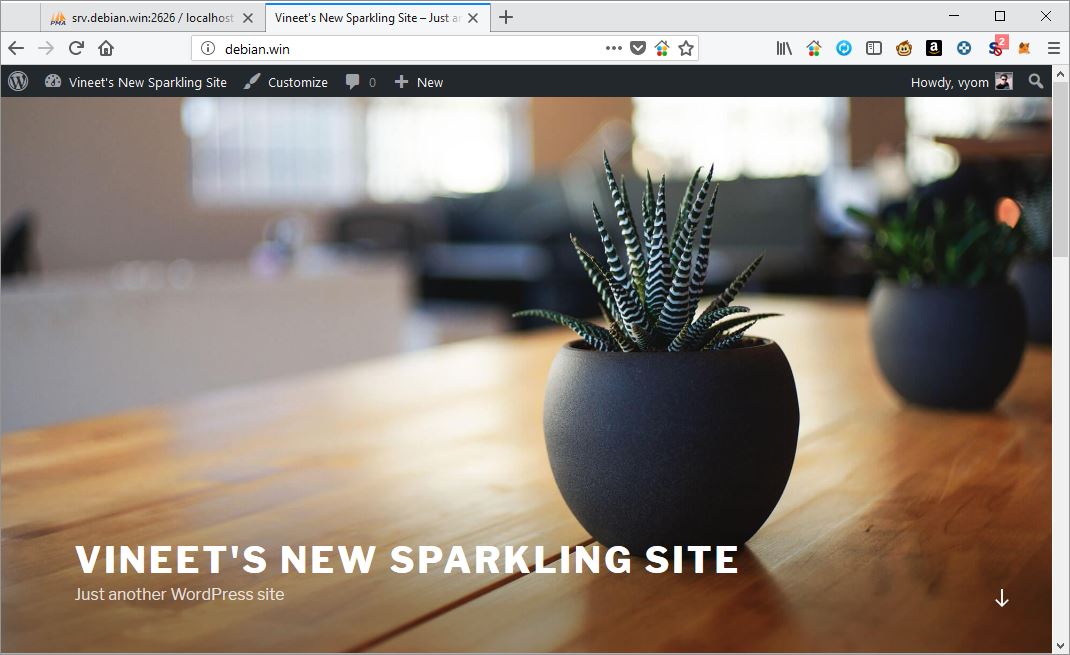
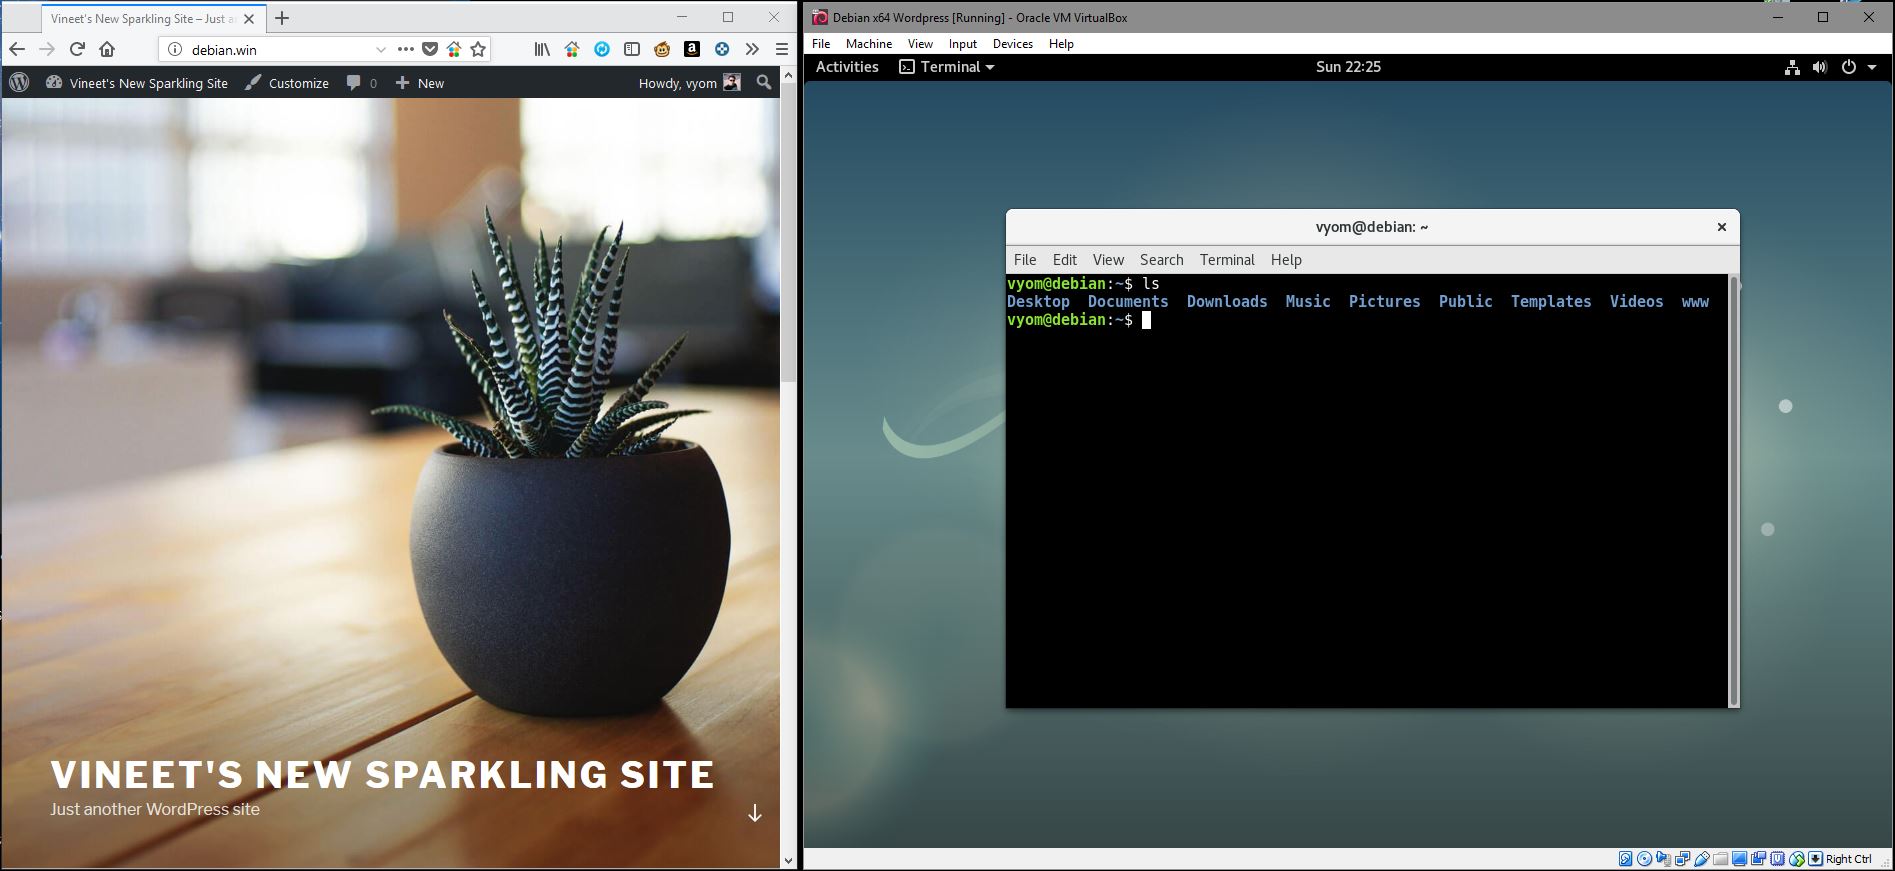
Enter details, and hit “Install WordPress” and viola, you have now configured wordpress on your virual debian machine, and can access it from your host machine!
That’s it! Thanks for this useful information.