Until now we got familiar with Ubuntu and know how to install updates and softwares, as well as know how to use a few commands using Terminal. And now that we know what is Unity and the Unity bar, it’s time to dump it! Seriously, there are cooler alternatives out there. One such alternative is GNOME. GNOME was native part of Ubuntu until a few versions ago. But Canonical switched it for Unity later. And while Unity may provide a very good shell I don’t think it’s on par with modern era.
In this guide I will install GNOME and write about how to customize it with extensions.
Table of Contents
GNOME:
GNOME shell provides a fully customized UI on top of Ubuntu. Consider a shell akin to a completely new theme in Windows, except, shell is much more than just a theme. It actually is a complete Desktop Environment (DE) and contains completely different and sometimes a unique set of features which other shell lacks.
Unlike Windows, you can choose to use any DE right before you login from the login page. So while one user might be using Unity, you on the same Ubuntu can use GNOME. I should warn though that GNOME is a little heavy on resources than Unity, but it’s beautiful and that there are some sacrifices which have to be made for “elegance”. Without wasting more time lets just install GNOME and see it in action.
To install GNOME run following command on Terminal (again Ctrl + Shift + T) while entering password when asked:
sudo apt-get install gnome
This will install a bunch of packages (around 500 MBs) which are included in GNOME by default.
GNOME Home Screen
Once the installation is finished, you can log out and re-login after changing the shell to GNOME. Following should be the desktop after you re-login:
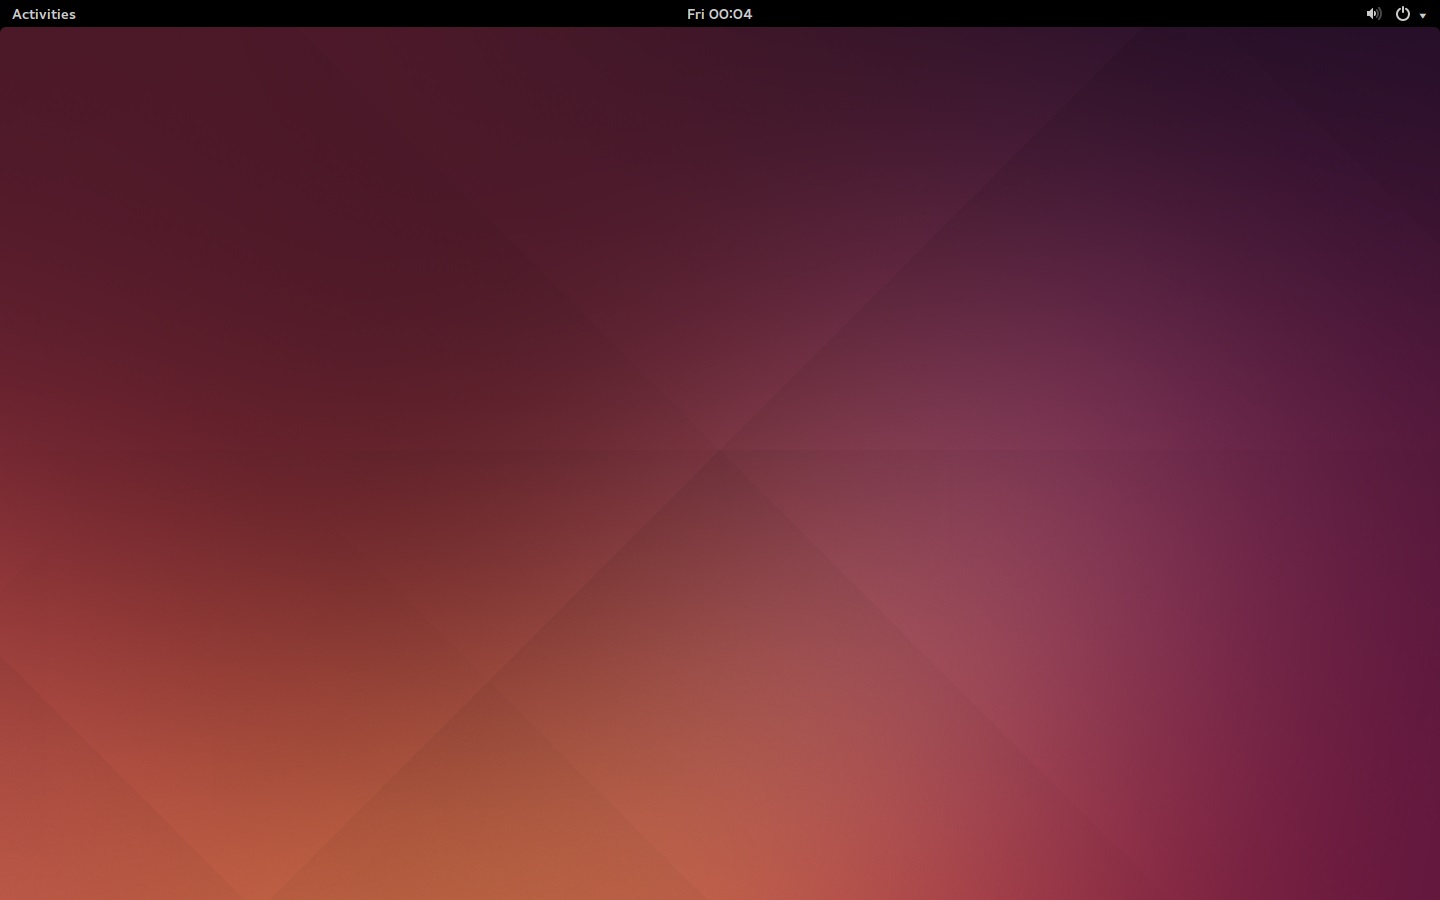
Nothing at first. No application icons. No side bars. Two small icon for volume and power in extreme right. And a simple clock in the middle. Don’t be fooled since the best is yet to come. Just take the mouse to upper left corner and do a left click. Screen should be like this now:
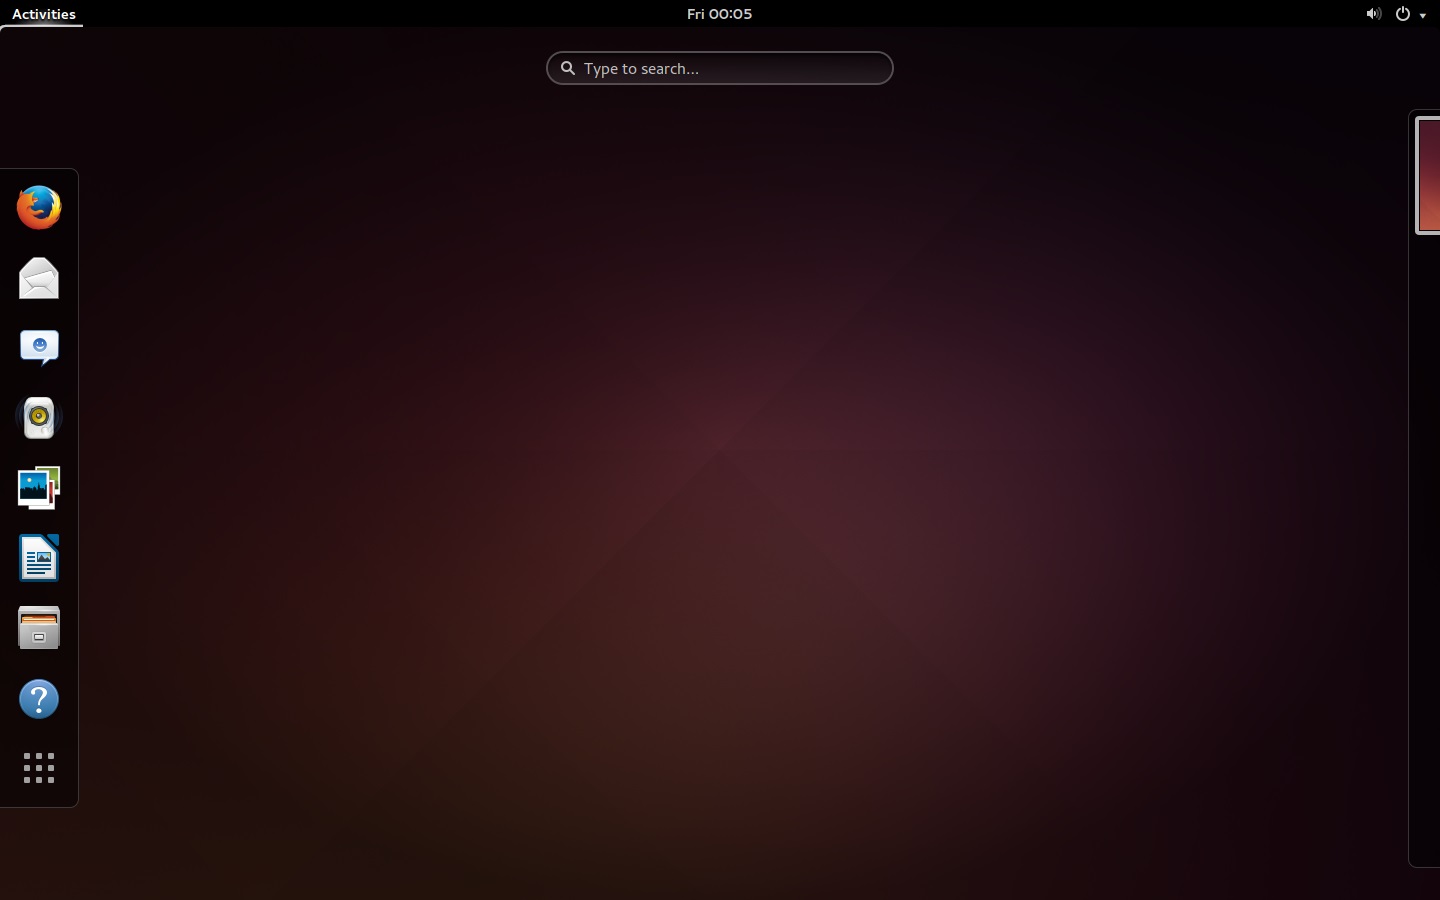
Click the down-most icon with icon which looks like it have 9 dots in grid. And viola you get:
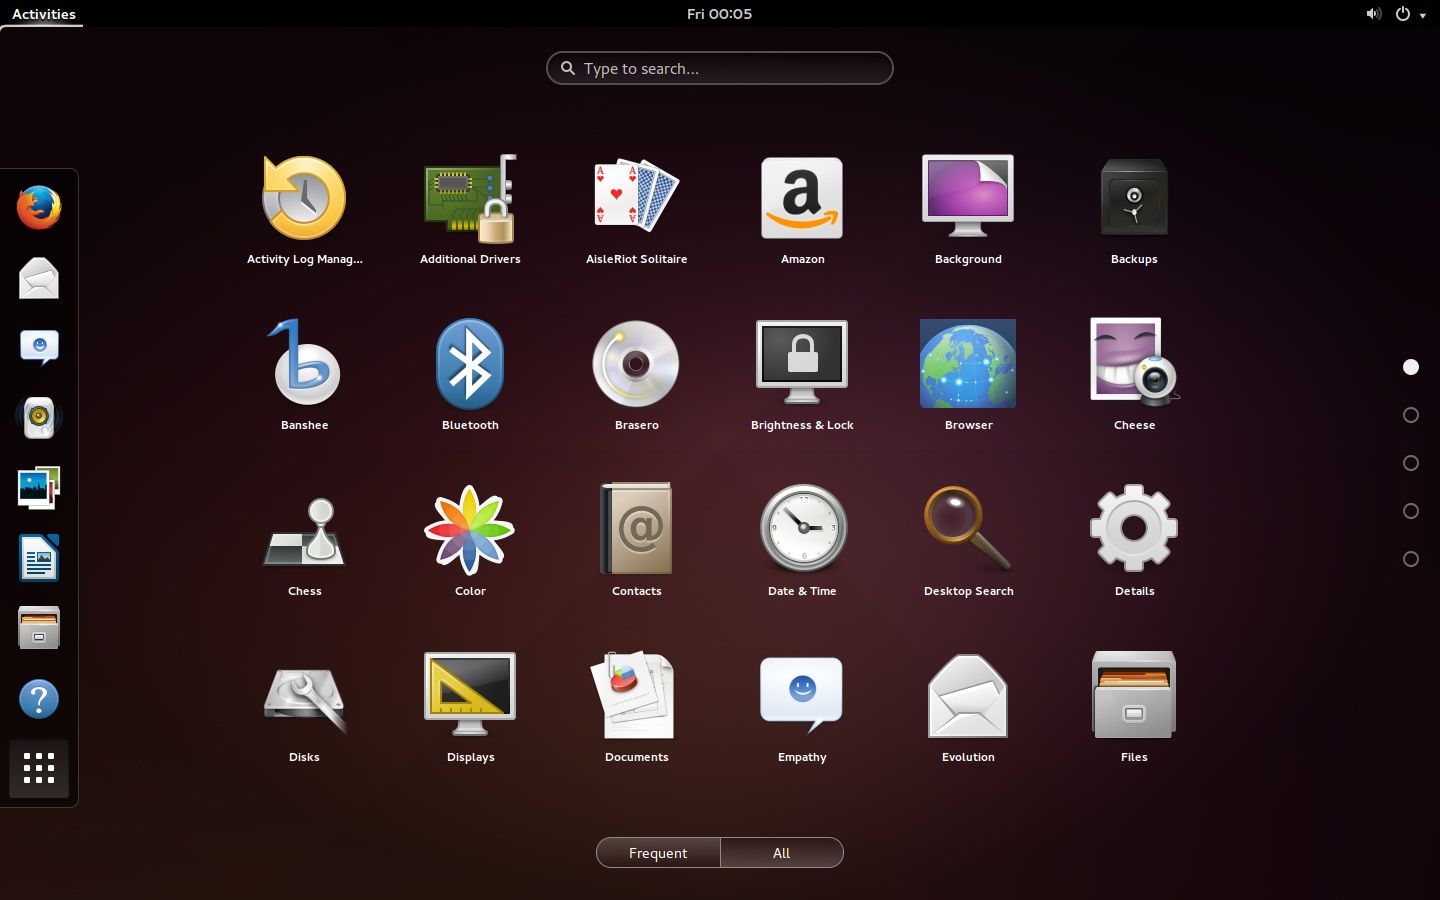
Ain’t that a beauty? Such elegance! There is something about GNOME which catches your attention. The fluidity of working on GNOME can only be felt once you use it. So why do I actually love it? Well lets see how a GNOME interface actually works:
- It’s minimal as default screen without any intrusive icons on your face.
- It have a hot corner at top-left corner of the screen, which you can never miss to click to get to the Activities Overview mode.
- App Drawer itself is full-screen, with a shade of black and neatly organized in multiple sections (5 of them in above screenshot).
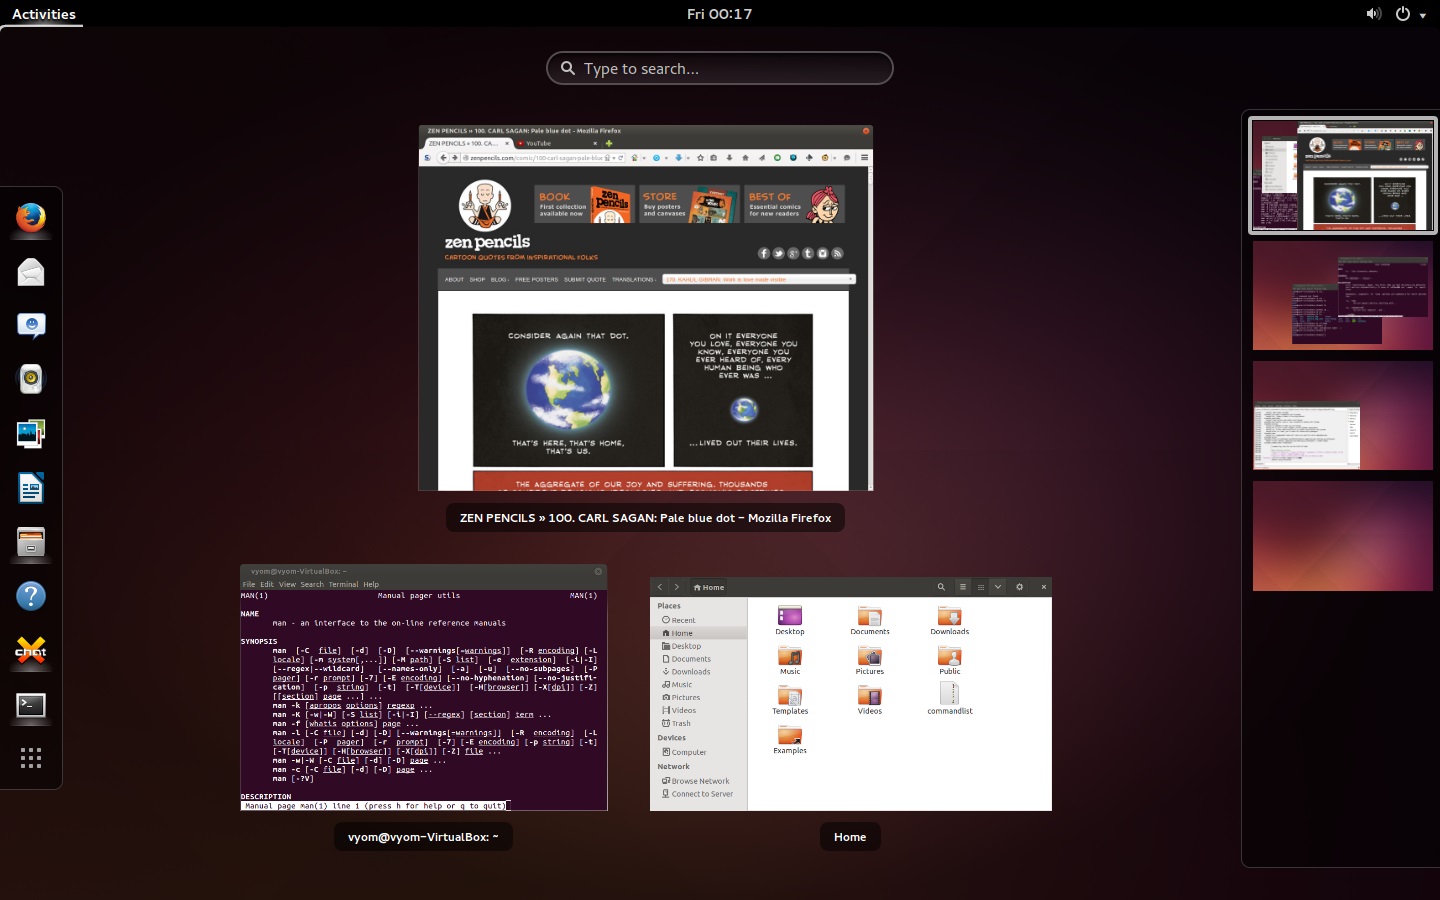
- A workspace is a virtual desktop where you can group different applications. Switching and transferring windows to another workspace is one of another cool points about GNOME. When you have the hot-corner clicked, you can see at the right side of the window where all the workspaces are there. You can easily switch to another workspace and drag the applications between different workspace.
- If you missed, there is a Search bar on the top of Appdrawer where you can just start typing and search anything from Applications, Files and even Internet. (Citation needed).
The Extensions:
The extendability with extensions on GNOME is very good. You have a dedicated page for GNOME extensions which you can install to extend the functionality of GNOME shell (the part of GNOME which provides you things which you can see).
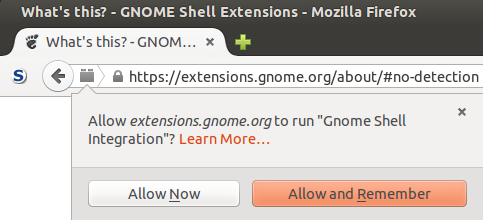
Open this website and install any extension. You might get a message that says, “We cannot detect a running copy of GNOME on this system, so some parts of the interface may be disabled”. Well just click the lego icon beside the address bar and select, “Allow and Remember”.
And now you have a list of extensions sorted by Popularity that you can “Turn ON” (install) to customize GNOME. Following is a list of a few extensions which I found useful:
- Applications Menu
- AlternateTab
- Native Window Placement
- Removable Drive Menu
- SystemMonitor
- Window List
- windowNavigator
- Workspace Indicator
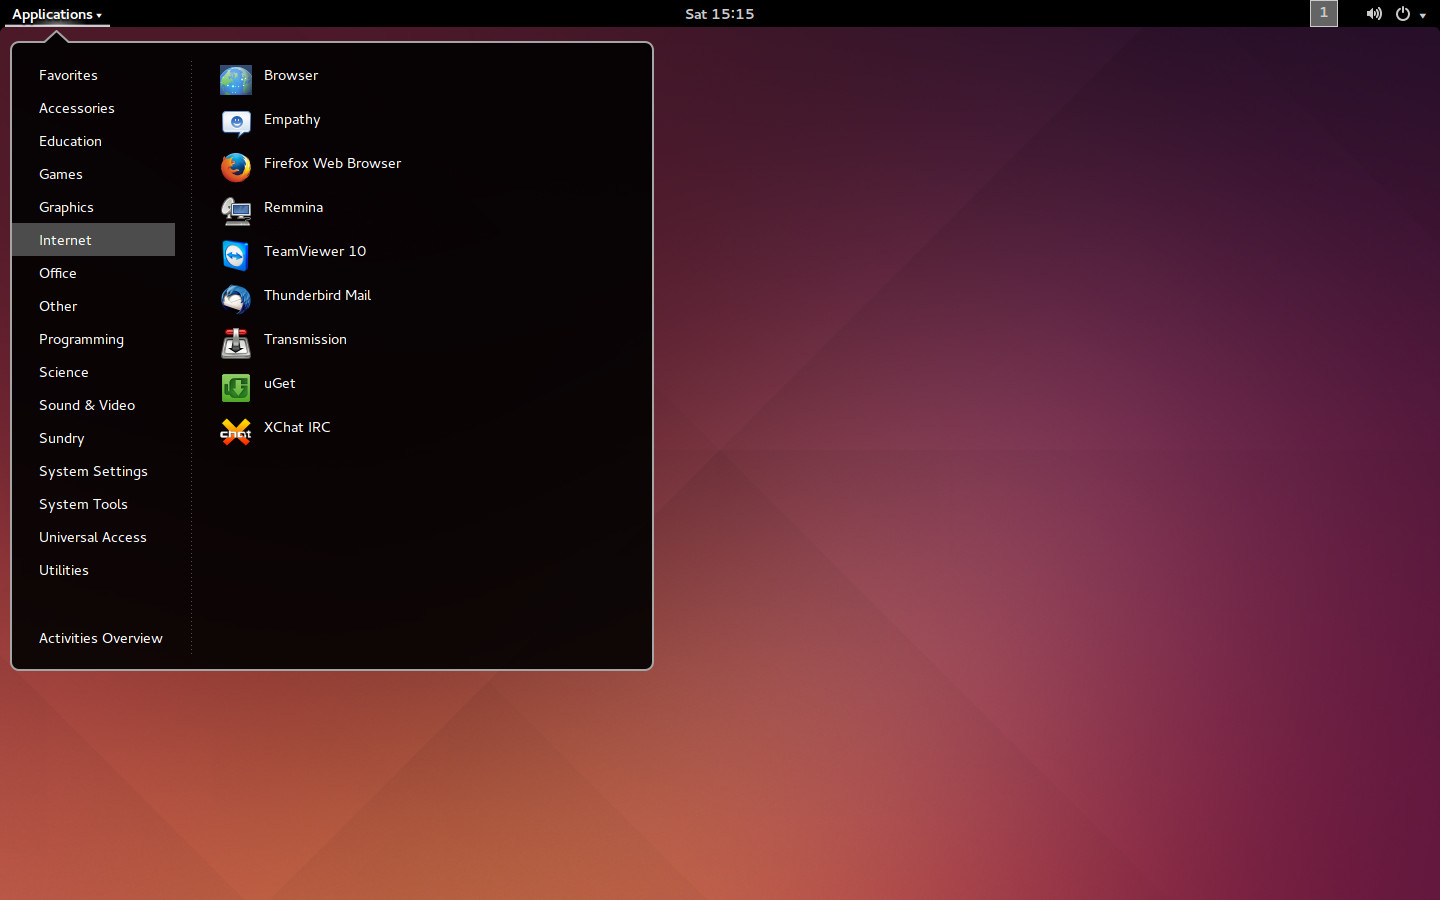
There are a lot of extensions in GNOME and I suggest readers to try to find some of them which they find useful and put them in comments, so we too become aware about them.
Tweak Tool:
Tweak Tool comes bundled with GNOME and using it you can go beyond the extensions to customize the User Interface.
Using Tweak tool you can:
- Change the global theme to dark
- Control Desktop Icons
- Enable/Disable installed extensions
- Change System Fonts
- Control number of Workspaces, and a lot more…
Screenshots:
Ubuntu have a handy way to take screenshots. Just press Print+Screen and a window opens where you can select where to save the screenshot. The usual shortcut works too, like Alt + PrnScreen to take only current window screenshot and Shift + PrnScreen to take screenshot of a custom area. But GNOME have taken to a step further. When you use PrnScreen to take screenshots in GNOME the screenshot is automatically saved in Pictures folder, where it should go.
Screen Recording:
This is something I think most of us will find extremely useful. GNOME comes with a built-in Screen Recording feature. To start recording press, “Ctrl + Shift + Alt + R”. Recording will start automatically with an Red circle as an indicator on the top right of the screen. Press the same shortcut again and recording will stop and completed video will be saved in Videos folder.
As per my testing, a video of resolution 1440 x 806 of duration 4 min and 35 sec took just 13.9 MB and stores it in webm format. Truly surprised!
I will end this guide by showcasing the video which I created using above feature. This video will showcase everything I wrote about till now, from using Terminal to features of GNOME shell.
Ok one question, I have currently three DE’s installed GNOME, LXDE, Xfce & all come with a few of their default apps. Now for music I love Banshee but Rythmbox, Music player(lxde).. are all installed (So on for other applications too) & extra apps freak me out.
So far I couldn’t figure out a way to remove those, whenever I try to remove them from synaptic they automatically mark the whole DE.
Either they are hard dependencies of your DE, or its a bug with synaptic. You can try the Ubuntu Package Manager, or whatever they call it, or just attempt via apt. But if they are hard dependencies of your DEs, expect a lot of things to break.
I agree with Aaruni here. Best approach would be to either remove the desktop environment completely and only keep the one you use as primary DE, and install the required packages separately. OR just to install core DE like lxde-core.
For more details, refer this: http://ubuntuforums.org/showthread.php?t=2249183
I think it is the issue of hard dependencies.
Well then I should try to fall in love with one of the DE & kiss goodbye to others..
Ok.. That made me chuckle… 😀
Oops..! I should clarify, that was me asking before creating a account
And I thought this place suddenly turned into reddit.